ADK용 Google Cloud Application Integration 도구
ApplicationIntegrationToolset을 사용하면, Salesforce, ServiceNow, JIRA, SAP 등을 포함한 Integration Connectors의 100개 이상 사전 구축 커넥터를 통해 에이전트에 엔터프라이즈 애플리케이션에 대한 안전하고 거버넌스된 접근 권한을 원활하게 제공할 수 있습니다.
온프레미스와 SaaS 애플리케이션을 모두 지원합니다. 또한 기존 Application Integration 프로세스 자동화를 Application Integration 워크플로를 ADK 에이전트의 도구로 제공하는 방식으로 에이전트 기반 워크플로(agentic workflows)로 전환할 수 있습니다.
Application Integration 내 federated search를 사용하면 ADK 에이전트로 여러 엔터프라이즈 애플리케이션과 데이터 소스를 동시에 질의할 수 있습니다.
이 영상에서 Application Integration의 ADK Federated Search 동작을 확인하세요
사전 준비 사항
1. ADK 설치
installation guide의 단계에 따라 Agent Development Kit를 설치합니다.
2. CLI 설치
Google Cloud CLI를 설치합니다. 기본 자격 증명으로 도구를 사용하려면 다음 명령을 실행합니다:
gcloud config set project <project-id>
gcloud auth application-default login
gcloud auth application-default set-quota-project <project-id>
<project-id>는 Google Cloud 프로젝트의 고유 ID로 바꾸세요.
3. Application Integration 워크플로 프로비저닝 및 Connection Tool 게시
에이전트에서 사용할 기존 Application Integration 워크플로나 Integrations Connector 연결을 사용합니다. 또는 새로운 Application Integration workflow 또는 connection 을 만들 수 있습니다.
템플릿 라이브러리에서 Connection Tool 을 import하고 publish합니다.
참고: Integration Connectors의 커넥터를 사용하려면, 연결(connection)과 같은 리전에 Application Integration을 프로비저닝해야 합니다.
4. 프로젝트 구조 생성
5. 역할 및 권한 설정
ApplicationIntegrationToolset 설정에 필요한 권한을 얻으려면, 프로젝트에 다음 IAM 역할이 필요합니다 (Integration Connectors와 Application Integration Workflows 공통):
- roles/integrations.integrationEditor
- roles/connectors.invoker
- roles/secretmanager.secretAccessor
참고: Agent Engine(AE) 배포 시 roles/integrations.integrationInvoker를 사용하면
403 오류가 발생할 수 있으므로 사용하지 마세요.
대신 roles/integrations.integrationEditor를 사용하세요.
Integration Connectors 사용
Integration Connectors를 사용해 에이전트를 엔터프라이즈 애플리케이션에 연결합니다.
시작 전 확인
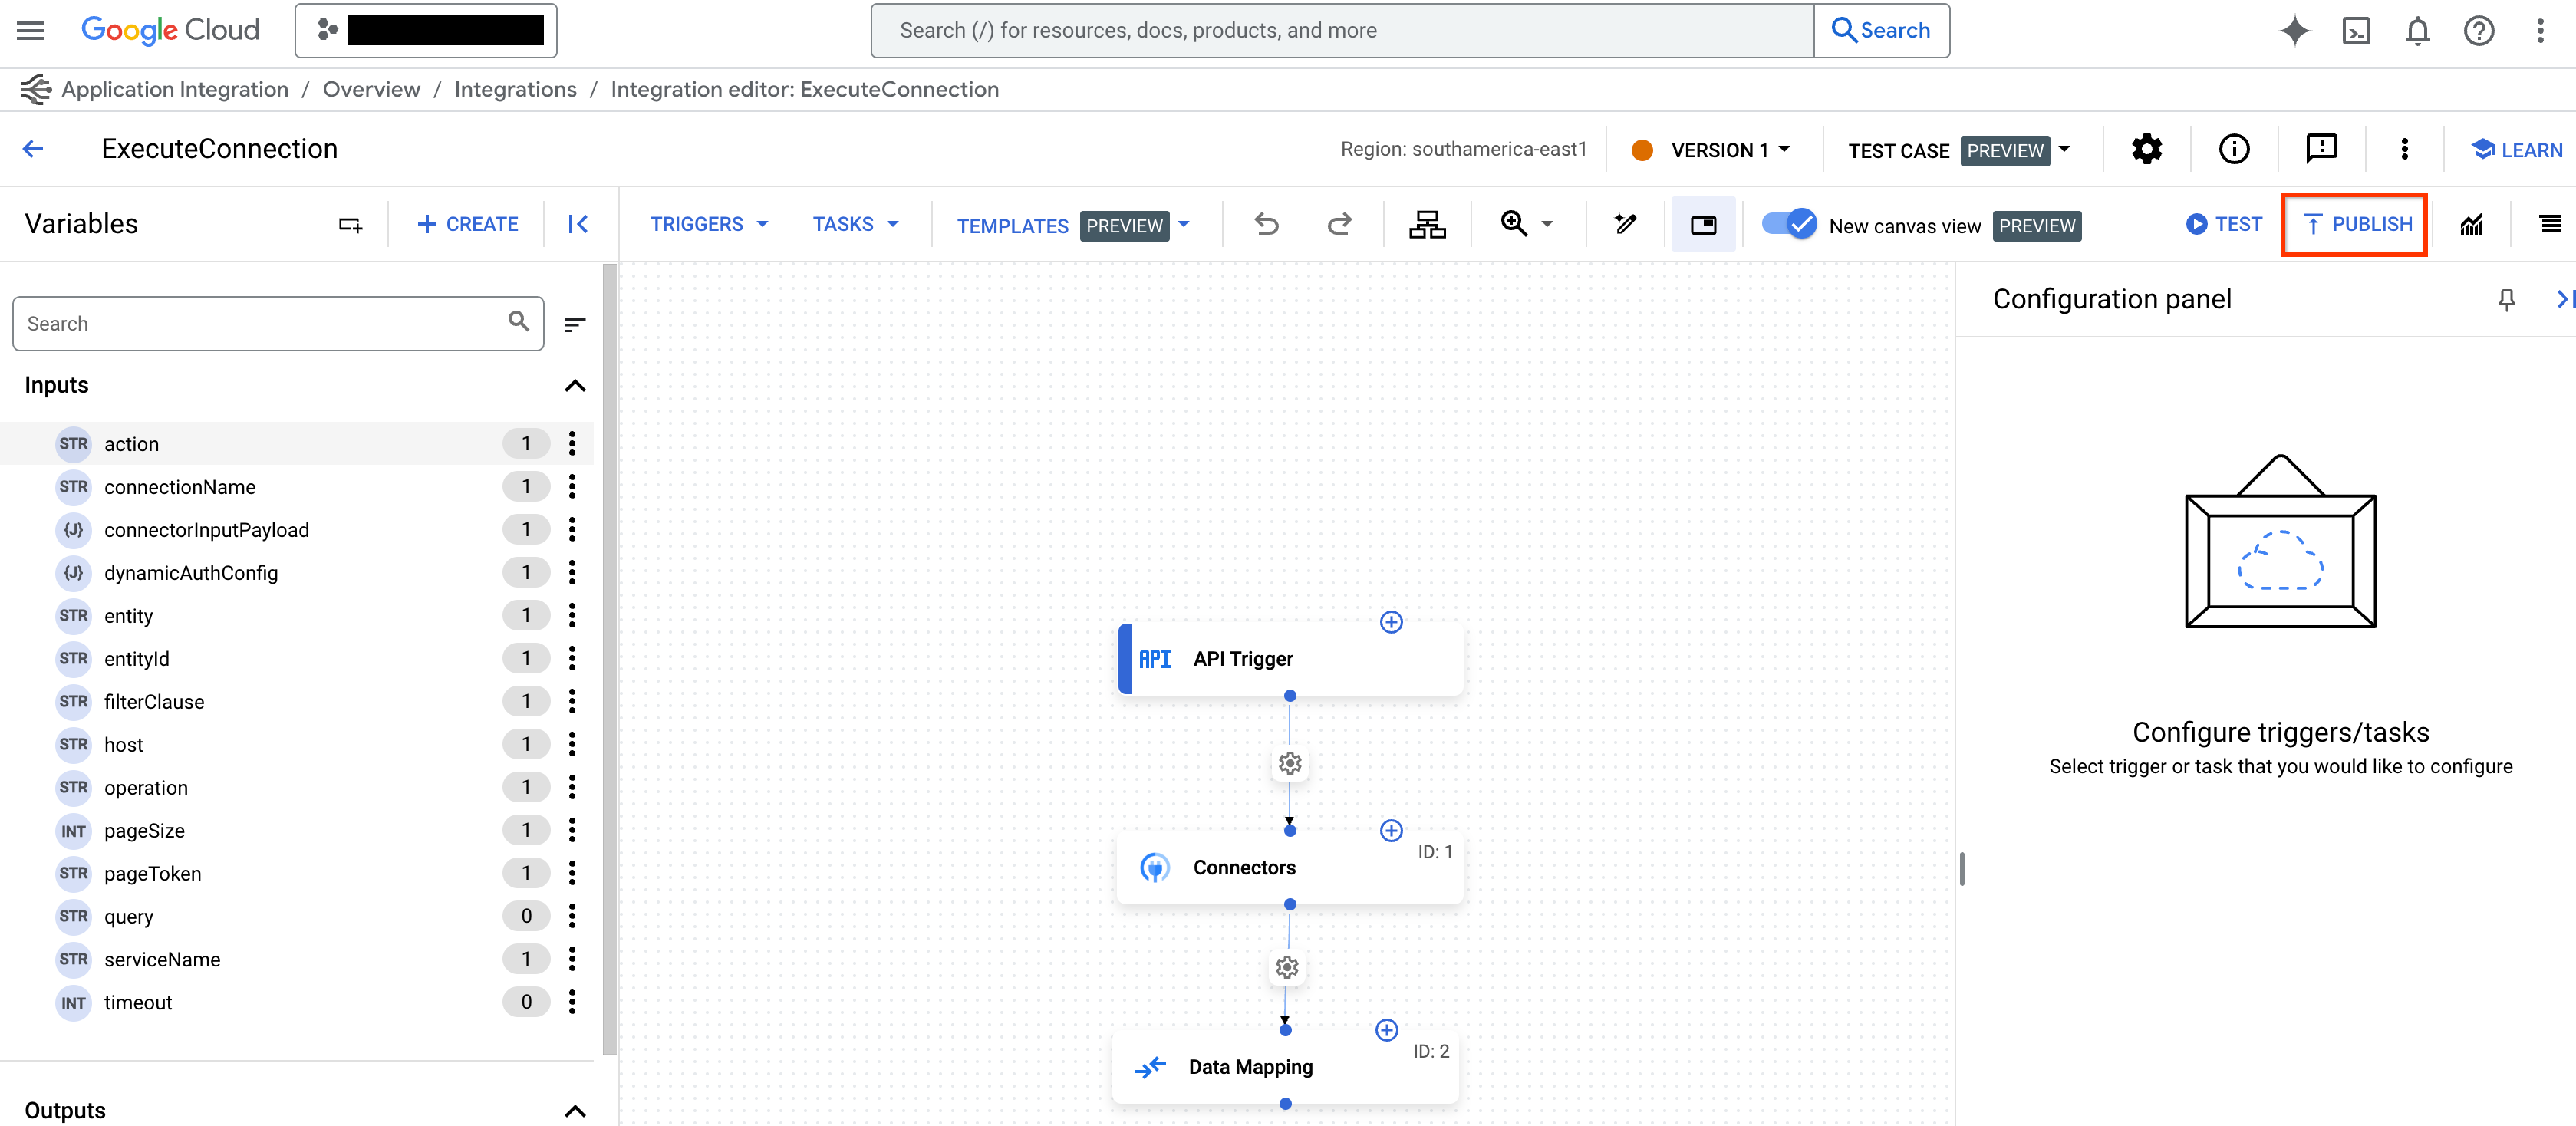
참고: ExecuteConnection integration은 일반적으로 특정 리전에 Application Integration을 프로비저닝하면 자동 생성됩니다. integrations 목록에 ExecuteConnection이 없다면 다음 단계를 따라 생성해야 합니다:
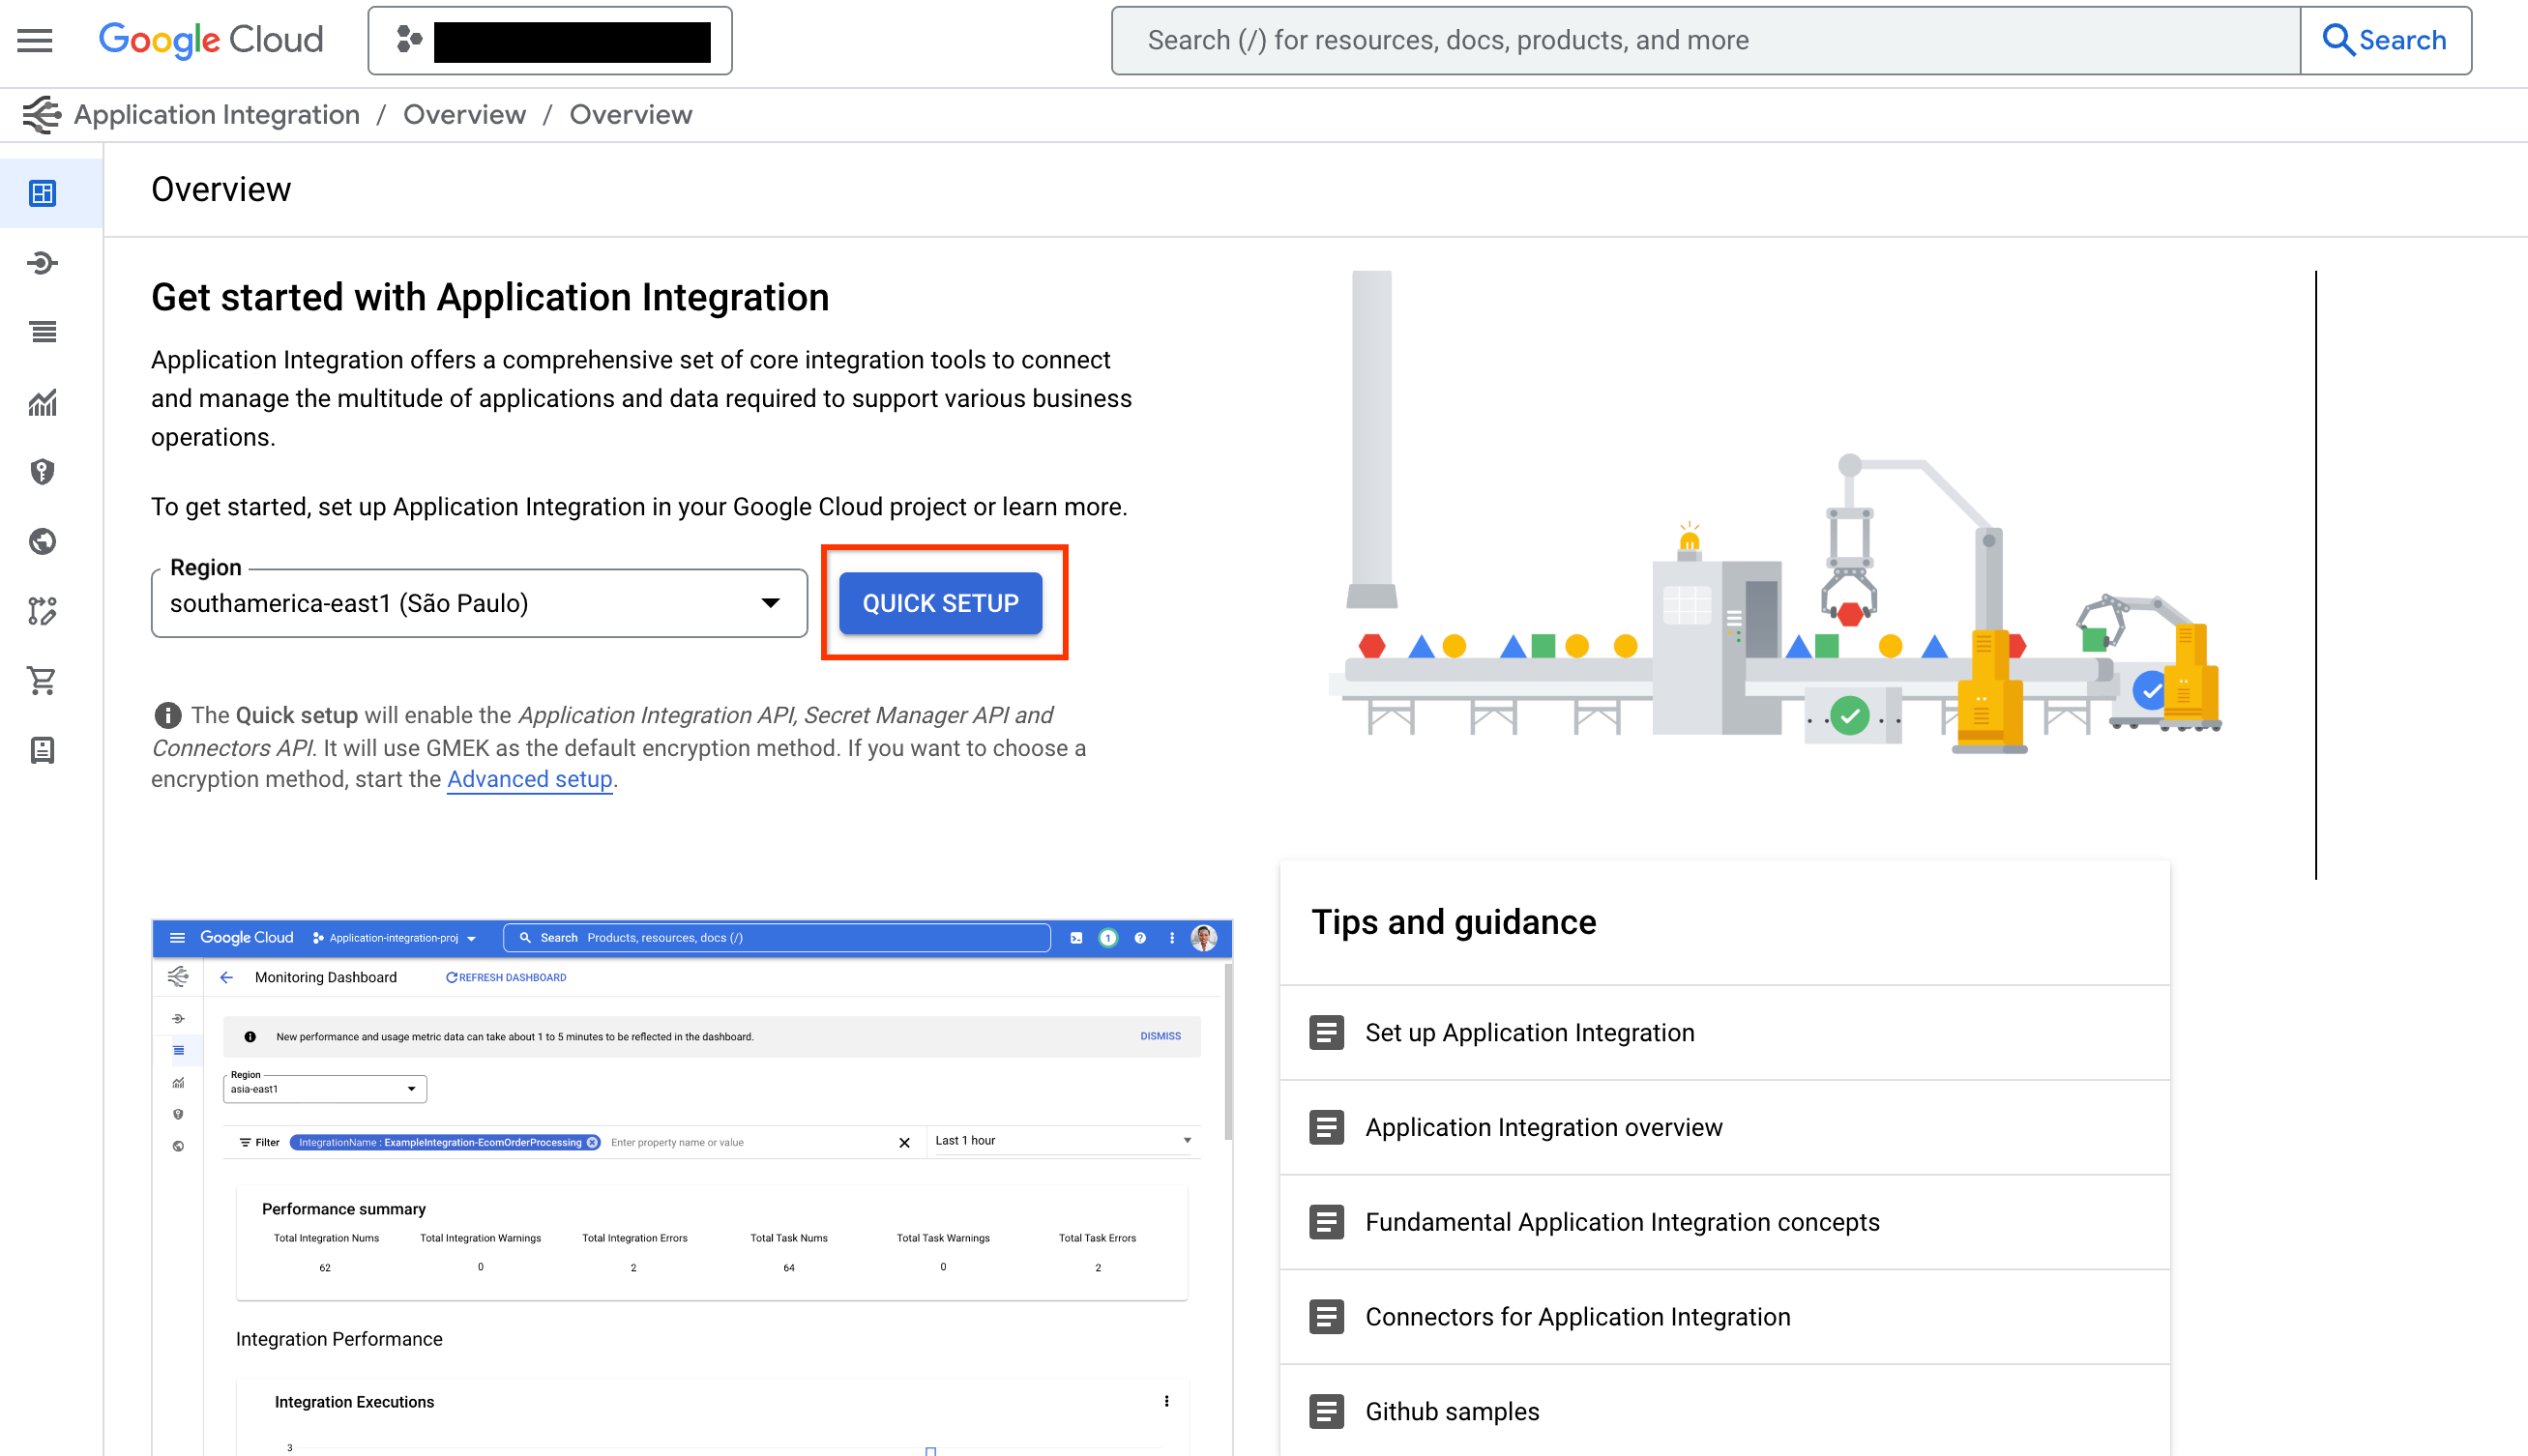
- Integration Connectors의 커넥터를 사용하려면 QUICK SETUP을 클릭하고, 연결과 같은 리전에 Application Integration을 프로비저닝합니다.
-
템플릿 라이브러리의 Connection Tool로 이동해 USE TEMPLATE를 클릭합니다.

-
Integration Name을 ExecuteConnection으로 입력합니다(반드시 이 정확한 이름 사용). 이후 연결 리전과 동일한 리전을 선택하고 CREATE를 클릭합니다.
-
Application Integration 편집기에서 PUBLISH를 클릭해 integration을 게시합니다.
Application Integration Toolset 생성
Integration Connectors용 Application Integration Toolset을 만들려면 다음 단계를 따릅니다:
-
tools.py파일에서ApplicationIntegrationToolset으로 도구를 생성합니다:from google.adk.tools.application_integration_tool.application_integration_toolset import ApplicationIntegrationToolset connector_tool = ApplicationIntegrationToolset( project="test-project", # TODO: replace with GCP project of the connection location="us-central1", #TODO: replace with location of the connection connection="test-connection", #TODO: replace with connection name entity_operations={"Entity_One": ["LIST","CREATE"], "Entity_Two": []},#empty list for actions means all operations on the entity are supported. actions=["action1"], #TODO: replace with actions service_account_json='{...}', # optional. Stringified json for service account key tool_name_prefix="tool_prefix2", tool_instructions="..." )참고:
- 기본 자격 증명 대신 서비스 계정을 사용하려면 Service Account Key를 생성하고, 해당 서비스 계정에 올바른 Application Integration and Integration Connector IAM roles를 부여하세요.
- 연결에서 지원하는 entity/actions 목록은 Connectors API의 listActions 또는 listEntityTypes로 확인할 수 있습니다.
ApplicationIntegrationToolset은 Integration Connectors의 동적 OAuth2 인증을 위해auth_scheme과auth_credential을 지원합니다. 사용하려면tools.py에 다음과 같이 도구를 생성하세요:from google.adk.tools.application_integration_tool.application_integration_toolset import ApplicationIntegrationToolset from google.adk.tools.openapi_tool.auth.auth_helpers import dict_to_auth_scheme from google.adk.auth import AuthCredential from google.adk.auth import AuthCredentialTypes from google.adk.auth import OAuth2Auth oauth2_data_google_cloud = { "type": "oauth2", "flows": { "authorizationCode": { "authorizationUrl": "https://accounts.google.com/o/oauth2/auth", "tokenUrl": "https://oauth2.googleapis.com/token", "scopes": { "https://www.googleapis.com/auth/cloud-platform": ( "View and manage your data across Google Cloud Platform" " services" ), "https://www.googleapis.com/auth/calendar.readonly": "View your calendars" }, } }, } oauth_scheme = dict_to_auth_scheme(oauth2_data_google_cloud) auth_credential = AuthCredential( auth_type=AuthCredentialTypes.OAUTH2, oauth2=OAuth2Auth( client_id="...", #TODO: replace with client_id client_secret="...", #TODO: replace with client_secret ), ) connector_tool = ApplicationIntegrationToolset( project="test-project", # TODO: replace with GCP project of the connection location="us-central1", #TODO: replace with location of the connection connection="test-connection", #TODO: replace with connection name entity_operations={"Entity_One": ["LIST","CREATE"], "Entity_Two": []},#empty list for actions means all operations on the entity are supported. actions=["GET_calendars/%7BcalendarId%7D/events"], #TODO: replace with actions. this one is for list events service_account_json='{...}', # optional. Stringified json for service account key tool_name_prefix="tool_prefix2", tool_instructions="...", auth_scheme=oauth_scheme, auth_credential=auth_credential ) -
agent.py파일을 업데이트해 에이전트에 도구를 추가합니다: -
__init__.py를 구성해 에이전트를 노출합니다: -
Google ADK Web UI를 시작하고 에이전트를 사용합니다:
위 단계를 완료한 후 http://localhost:8000으로 이동해
my\_agent 에이전트(에이전트 폴더 이름과 동일)를 선택합니다.
Application Integration Workflows 사용
기존 Application Integration 워크플로를 에이전트 도구로 사용하거나 새로 생성합니다.
1. 도구 생성
tools.py 파일에서 ApplicationIntegrationToolset으로 도구를 생성하려면 다음 코드를 사용합니다:
    integration_tool = ApplicationIntegrationToolset(
        project="test-project", # TODO: replace with GCP project of the connection
        location="us-central1", #TODO: replace with location of the connection
        integration="test-integration", #TODO: replace with integration name
        triggers=["api_trigger/test_trigger"],#TODO: replace with trigger id(s). Empty list would mean all api triggers in the integration to be considered.
        service_account_json='{...}', #optional. Stringified json for service account key
        tool_name_prefix="tool_prefix1",
        tool_instructions="..."
    )
참고: 기본 자격 증명 대신 서비스 계정을 사용하려면 Service Account Key를 생성하고, 서비스 계정에 올바른 Application Integration and Integration Connector IAM roles를 부여하세요. IAM 역할 상세는 Prerequisites 섹션을 참조하세요.
tools.java 파일에서 ApplicationIntegrationToolset으로 도구를 생성하려면 다음 코드를 사용합니다:
    import com.google.adk.tools.applicationintegrationtoolset.ApplicationIntegrationToolset;
    import com.google.common.collect.ImmutableList;
    import com.google.common.collect.ImmutableMap;

    public class Tools {
        private static ApplicationIntegrationToolset integrationTool;
        private static ApplicationIntegrationToolset connectionsTool;

        static {
            integrationTool = new ApplicationIntegrationToolset(
                    "test-project",
                    "us-central1",
                    "test-integration",
                    ImmutableList.of("api_trigger/test-api"),
                    null,
                    null,
                    null,
                    "{...}",
                    "tool_prefix1",
                    "...");

            connectionsTool = new ApplicationIntegrationToolset(
                    "test-project",
                    "us-central1",
                    null,
                    null,
                    "test-connection",
                    ImmutableMap.of("Issue", ImmutableList.of("GET")),
                    ImmutableList.of("ExecuteCustomQuery"),
                    "{...}",
                    "tool_prefix",
                    "...");
        }
    }
참고: 기본 자격 증명 대신 서비스 계정을 사용하려면 Service Account Key를 생성하고, 서비스 계정에 올바른 Application Integration and Integration Connector IAM roles를 부여하세요. IAM 역할 상세는 Prerequisites 섹션을 참조하세요.
2. 에이전트에 도구 추가
agent.py 파일을 업데이트하고 에이전트에 도구를 추가하려면 다음 코드를 사용합니다:
agent.java 파일을 업데이트하고 에이전트에 도구를 추가하려면 다음 코드를 사용합니다:
```java import com.google.adk.agent.LlmAgent; import com.google.adk.tools.BaseTool; import com.google.common.collect.ImmutableList;
    public class MyAgent {
        public static void main(String[] args) {
            // Assuming Tools class is defined as in the previous step
            ImmutableList<BaseTool> tools = ImmutableList.<BaseTool>builder()
                    .add(Tools.integrationTool)
                    .add(Tools.connectionsTool)
                    .build();

            // Finally, create your agent with the tools generated automatically.
            LlmAgent rootAgent = LlmAgent.builder()
                    .name("science-teacher")
                    .description("Science teacher agent")
                    .model("gemini-2.0-flash")
                    .instruction(
                            "Help user, leverage the tools you have access to."
                    )
                    .tools(tools)
                    .build();

            // You can now use rootAgent to interact with the LLM
            // For example, you can start a conversation with the agent.
        }
    }
```
참고: 연결에서 지원되는 entity/actions 목록은
Connector API listActions, listEntityTypes로 확인하세요.
3. 에이전트 노출
4. 에이전트 사용
Google ADK Web UI를 시작하고 에이전트를 사용하려면 다음 명령을 사용합니다:
위 단계를 완료한 뒤 http://localhost:8000에서my_agent 에이전트(에이전트 폴더 이름과 동일)를 선택합니다.
Google ADK Web UI를 시작하고 에이전트를 사용하려면 다음 명령을 사용합니다:
    mvn install

    mvn exec:java \
        -Dexec.mainClass="com.google.adk.web.AdkWebServer" \
        -Dexec.args="--adk.agents.source-dir=src/main/java" \
        -Dexec.classpathScope="compile"
위 단계를 완료한 뒤 http://localhost:8000에서 my_agent 에이전트(에이전트 폴더 이름과 동일)를 선택합니다.