ADK Kotlin クイックスタート
このガイドでは、Kotlin 向け Agent Development Kit を使い始める方法を 説明します。開始する前に、次のものがインストールされていることを 確認してください。
- Java 17 以降
- Gradle 8.0 以降
Android 向けにビルドしますか?
このクイックスタートでは JVM 上の Kotlin を扱います。Android アプリをビルドする場合は、まずこのクイックスタートを完了して エージェント API を学び、その後 Android 固有のプロジェクト設定と オンデバイスモデルについて Android 向け ADK エージェントのビルド を参照してください。
エージェントプロジェクトを作成する
次のファイルとディレクトリ構造でエージェントプロジェクトを作成します。
my_agent/
    src/main/kotlin/com/example/agent/
                        HelloTimeAgent.kt   # エージェント定義 + ツール
                        Main.kt             # エントリポイント
    build.gradle.kts                        # プロジェクト設定
    .env                                    # API キーまたはプロジェクト ID
コマンドラインでこのプロジェクト構造を作成する
エージェントコードを定義する
基本的なエージェントコードを作成します。ここには getCurrentTime()
というシンプルな ADK Function Tool の
実装が含まれます。プロジェクトディレクトリの HelloTimeAgent.kt
ファイルに次のコードを追加してください。
package com.example.agent

import com.google.adk.kt.agents.Instruction
import com.google.adk.kt.agents.LlmAgent
import com.google.adk.kt.annotations.Param
import com.google.adk.kt.annotations.Tool
import com.google.adk.kt.models.Gemini

class TimeService {
    /** Mock tool implementation */
    @Tool
    fun getCurrentTime(
        @Param("Name of the city to get the time for") city: String
    ): Map<String, String> {
        return mapOf("city" to city, "time" to "The time is 10:30am.")
    }
}

object HelloTimeAgent {
    @JvmField
    val rootAgent = LlmAgent(
        name = "hello_time_agent",
        description = "Tells the current time in a specified city.",
        model = Gemini(
            name = "gemini-flash-latest",
            apiKey = System.getenv("GOOGLE_API_KEY")
                ?: error("GOOGLE_API_KEY environment variable not set."),
        ),
        instruction = Instruction(
            "You are a helpful assistant that tells the current time in a city. "
                + "Use the 'getCurrentTime' tool for this purpose."
        ),
        tools = TimeService().generatedTools(),
    )
}
@Tool と KSP について
@Tool アノテーションは、エージェントが呼び出せるツールとして
関数をマークします。コンパイル時に KSP(Kotlin Symbol Processing)
アノテーションプロセッサが、上記で使っている .generatedTools()
拡張関数を生成します。これはリフレクションを使わずに関数ツールを
登録する方法です。必要な KSP プラグインとプロセッサ依存関係は、
下の build.gradle.kts 設定に含まれています。
プロジェクトと依存関係を設定する
ADK Kotlin エージェントプロジェクトでは、build.gradle.kts プロジェクト
ファイルに次の依存関係が必要です。
dependencies {
    implementation("com.google.adk:google-adk-kotlin-core:1.3.1")
    ksp("com.google.adk:google-adk-kotlin-processor:1.3.1")
}
プロジェクトの完全な build.gradle.kts 設定
次のコードは、このプロジェクトの完全な build.gradle.kts 設定を
示しています。
plugins {
    kotlin("jvm") version "2.1.20"
    id("com.google.devtools.ksp") version "2.1.20-2.0.1"
    application
}

repositories {
    mavenCentral()
}

dependencies {
    implementation("com.google.adk:google-adk-kotlin-core:1.3.1")
    implementation("com.google.adk:google-adk-kotlin-webserver:1.3.1")
    ksp("com.google.adk:google-adk-kotlin-processor:1.3.1")
}

kotlin {
    jvmToolchain(17)
}

application {
    mainClass.set(
        project.findProperty("mainClass") as? String
            ?: "com.example.agent.MainKt"
    )
}

tasks.named<JavaExec>("run") {
    standardInput = System.`in`
}
API キーを設定する
このプロジェクトでは Gemini API を使用するため、API キーが必要です。 Gemini API キーをまだ持っていない場合は、Google AI Studio の API Keys ページでキーを作成して ください。
ターミナルで、プロジェクトの .env ファイルに API キーを書き込み、
環境変数を設定します。
ADK で他の AI モデルを使う
ADK は多くの生成 AI モデルの利用をサポートしています。ADK エージェントで他のモデルを設定する方法については、 モデルと認証を参照してください。
エントリポイントを作成する
コマンドラインから HelloTimeAgent を実行して対話するための Main.kt
ファイルを作成します。ReplRunner は、ユーザー入力、エージェント応答、
ツール確認プロンプトを処理する組み込みの対話型 REPL を提供します。
package com.example.agent

import com.google.adk.kt.runners.ReplRunner

fun main() {
    ReplRunner(HelloTimeAgent.rootAgent).start()
}
エージェントを実行する
対話型コマンドライン REPL、または AdkDevServer が提供する ADK Web
ユーザーインターフェースを使って ADK エージェントを実行できます。
どちらの方法でも、エージェントをテストして対話できます。
コマンドラインインターフェースで実行する
Gradle の run タスクを使って、コマンドラインインターフェースで
エージェントを実行します。
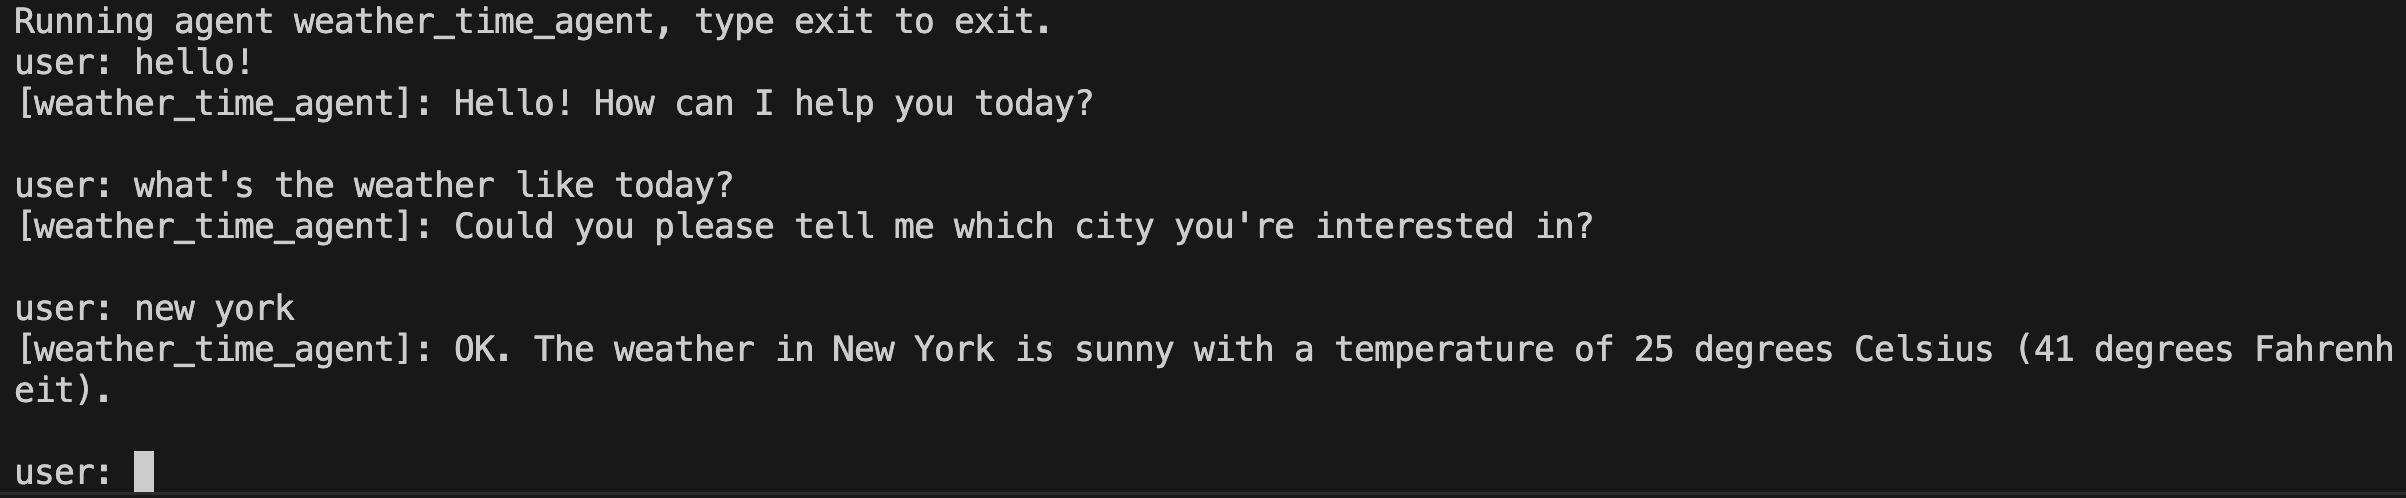
エージェントが対話型セッションを開始します。メッセージを入力して Enter キーを押します。
Agent hello_time_agent is ready. Type 'exit' to quit.

You > What time is it in New York?

hello_time_agent > The current time in New York is 10:30am.

You > exit
Exiting agent.
Web インターフェースで実行する
ADK Web インターフェースでエージェントを実行するには、
build.gradle.kts に Web サーバー依存関係を追加します。
dependencies {
    implementation("com.google.adk:google-adk-kotlin-core:1.3.1")
    implementation("com.google.adk:google-adk-kotlin-webserver:1.3.1")
    ksp("com.google.adk:google-adk-kotlin-processor:1.3.1")
}
次に、Main.kt と同じ場所に WebMain.kt ファイルを作成します。
package com.example.agent

import com.google.adk.kt.webserver.AdkServerConfig
import com.google.adk.kt.webserver.dev.AdkDevServer

fun main() {
    // inMemory() はエージェントローダーとセッションおよびアーティファクトサービスを提供し、
    // プロセス内でその状態を保持します。
    val server = AdkDevServer(AdkServerConfig.inMemory(HelloTimeAgent.rootAgent))

    println("Starting ADK dev server on http://localhost:8080")
    server.start(wait = true)
}
-PmainClass プロパティで Web エントリポイントを選択して Web サーバーを
実行します。
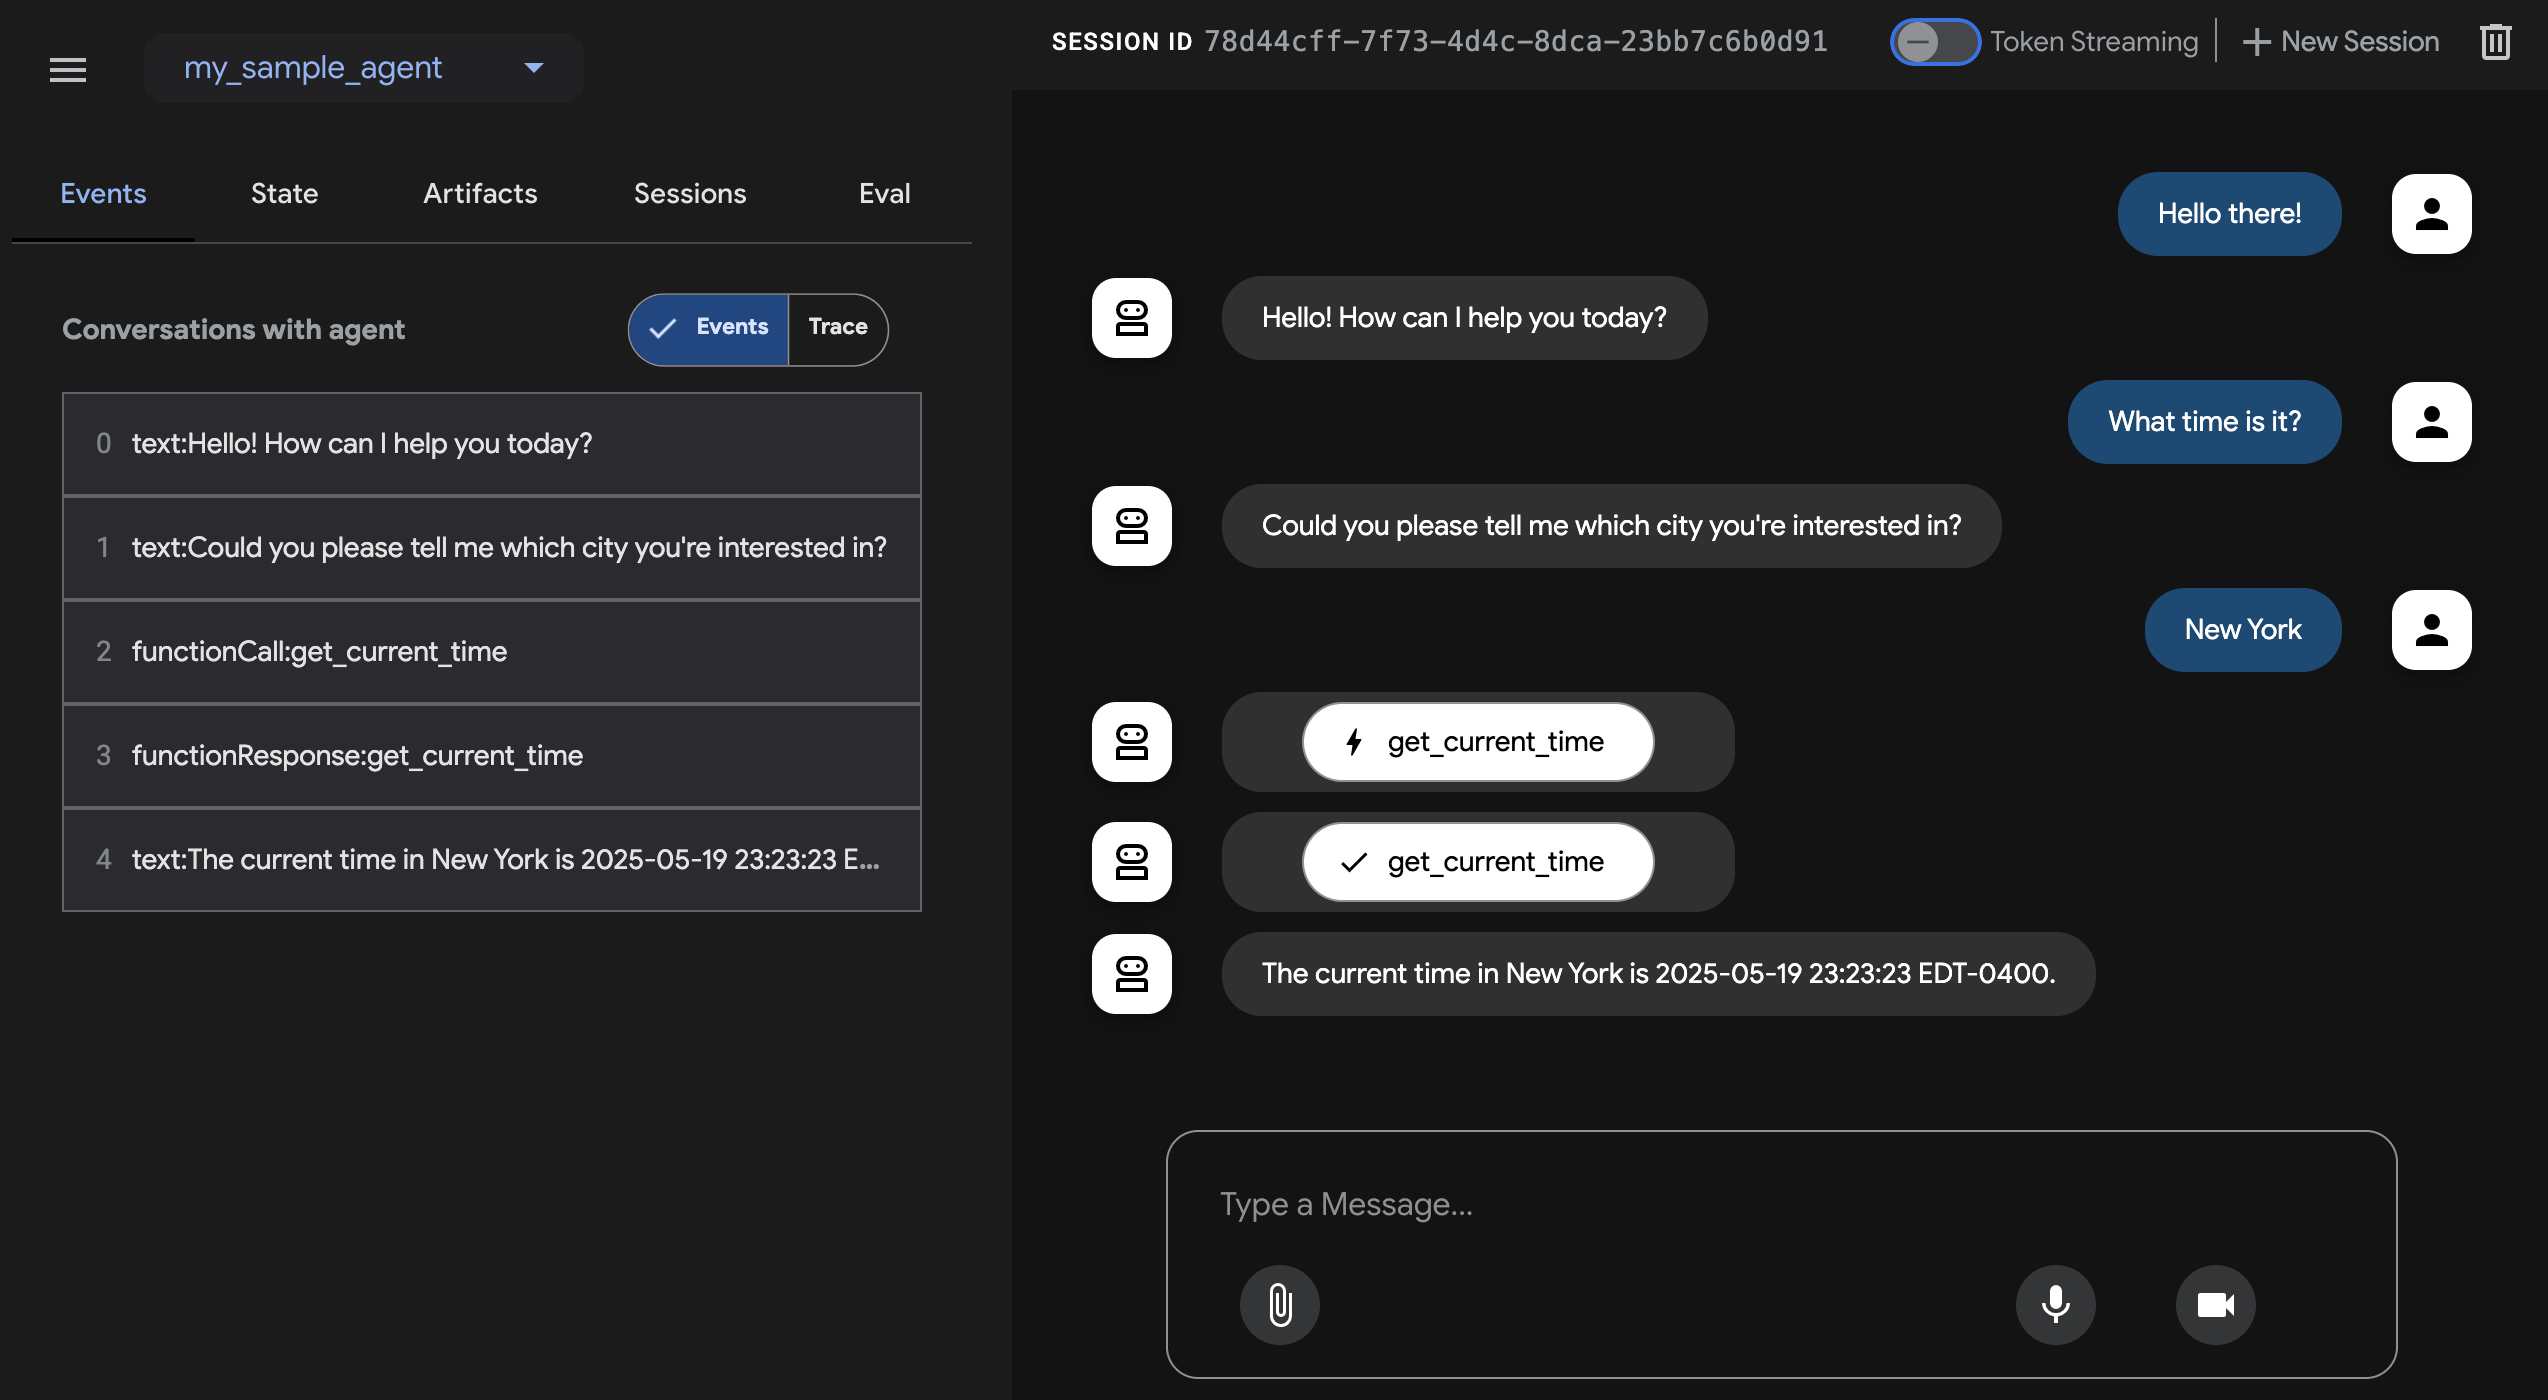
このコマンドは、エージェント用のチャットインターフェースを備えた Web
サーバーを起動します。Web インターフェースには http://localhost:8080
でアクセスできます。左上でエージェントを選択し、リクエストを入力して
ください。
注意: ADK Web は開発専用です
ADK Web は本番環境での利用を目的としていません。開発と デバッグの目的でのみ ADK Web を使用してください。詳細については、 ADK Web インターフェース を参照してください。
次: エージェントをビルドする
ADK をインストールして最初のエージェントを実行できたら、ビルドガイドで 独自のエージェントを作成してみましょう。