ADK Kotlin 빠른 시작
이 가이드는 Kotlin용 Agent Development Kit를 시작하는 방법을 보여줍니다. 시작하기 전에 다음 항목이 설치되어 있는지 확인하세요.
- Java 17 이상
- Gradle 8.0 이상
Android용으로 빌드하나요?
이 빠른 시작은 JVM의 Kotlin을 다룹니다. Android 앱을 빌드하는 경우 먼저 이 빠른 시작을 완료해 에이전트 API를 익힌 다음, Android 전용 프로젝트 설정과 온디바이스 모델은 Android용 ADK 에이전트 빌드를 참고하세요.
에이전트 프로젝트 만들기
다음 파일과 디렉터리 구조로 에이전트 프로젝트를 만듭니다.
my_agent/
    src/main/kotlin/com/example/agent/
                        HelloTimeAgent.kt   # 에이전트 정의 + 도구
                        Main.kt             # 진입점
    build.gradle.kts                        # 프로젝트 구성
    .env                                    # API 키 또는 프로젝트 ID
명령줄로 이 프로젝트 구조 만들기
에이전트 코드 정의
기본 에이전트 코드를 만듭니다. 여기에는 getCurrentTime()이라는 간단한
ADK Function Tool 구현이 포함됩니다.
프로젝트 디렉터리의 HelloTimeAgent.kt 파일에 다음 코드를 추가하세요.
package com.example.agent

import com.google.adk.kt.agents.Instruction
import com.google.adk.kt.agents.LlmAgent
import com.google.adk.kt.annotations.Param
import com.google.adk.kt.annotations.Tool
import com.google.adk.kt.models.Gemini

class TimeService {
    /** Mock tool implementation */
    @Tool
    fun getCurrentTime(
        @Param("Name of the city to get the time for") city: String
    ): Map<String, String> {
        return mapOf("city" to city, "time" to "The time is 10:30am.")
    }
}

object HelloTimeAgent {
    @JvmField
    val rootAgent = LlmAgent(
        name = "hello_time_agent",
        description = "Tells the current time in a specified city.",
        model = Gemini(
            name = "gemini-flash-latest",
            apiKey = System.getenv("GOOGLE_API_KEY")
                ?: error("GOOGLE_API_KEY environment variable not set."),
        ),
        instruction = Instruction(
            "You are a helpful assistant that tells the current time in a city. "
                + "Use the 'getCurrentTime' tool for this purpose."
        ),
        tools = TimeService().generatedTools(),
    )
}
@Tool과 KSP
@Tool 애너테이션은 에이전트가 호출할 수 있는 도구로 함수를
표시합니다. 컴파일 시 KSP(Kotlin Symbol Processing) 애너테이션
프로세서가 위 예제의 .generatedTools() 확장 함수를 생성합니다.
이 방식은 리플렉션 없이 함수 도구를 등록합니다. 필요한 KSP 플러그인과
프로세서 의존성은 아래 build.gradle.kts 구성에 포함되어 있습니다.
프로젝트와 의존성 구성
ADK Kotlin 에이전트 프로젝트는 build.gradle.kts 프로젝트 파일에 다음
의존성이 필요합니다.
dependencies {
    implementation("com.google.adk:google-adk-kotlin-core:1.3.1")
    ksp("com.google.adk:google-adk-kotlin-processor:1.3.1")
}
프로젝트의 전체 build.gradle.kts 구성
다음 코드는 이 프로젝트의 전체 build.gradle.kts 구성을 보여줍니다.
plugins {
    kotlin("jvm") version "2.1.20"
    id("com.google.devtools.ksp") version "2.1.20-2.0.1"
    application
}

repositories {
    mavenCentral()
}

dependencies {
    implementation("com.google.adk:google-adk-kotlin-core:1.3.1")
    implementation("com.google.adk:google-adk-kotlin-webserver:1.3.1")
    ksp("com.google.adk:google-adk-kotlin-processor:1.3.1")
}

kotlin {
    jvmToolchain(17)
}

application {
    mainClass.set(
        project.findProperty("mainClass") as? String
            ?: "com.example.agent.MainKt"
    )
}

tasks.named<JavaExec>("run") {
    standardInput = System.`in`
}
API 키 설정
이 프로젝트는 API 키가 필요한 Gemini API를 사용합니다. 아직 Gemini API 키가 없다면 Google AI Studio의 API Keys 페이지에서 키를 만드세요.
터미널 창에서 프로젝트의 .env 파일에 API 키를 기록해 환경 변수를
설정합니다.
ADK에서 다른 AI 모델 사용
ADK는 다양한 생성형 AI 모델 사용을 지원합니다. ADK 에이전트에서 다른 모델을 구성하는 방법은 모델 및 인증을 참고하세요.
진입점 만들기
명령줄에서 HelloTimeAgent를 실행하고 상호작용할 Main.kt 파일을
만듭니다. ReplRunner는 사용자 입력, 에이전트 응답, 도구 확인 프롬프트를
처리하는 기본 대화형 REPL을 제공합니다.
package com.example.agent

import com.google.adk.kt.runners.ReplRunner

fun main() {
    ReplRunner(HelloTimeAgent.rootAgent).start()
}
에이전트 실행
대화형 명령줄 REPL 또는 AdkDevServer가 제공하는 ADK 웹 사용자
인터페이스로 ADK 에이전트를 실행할 수 있습니다. 두 옵션 모두 에이전트를
테스트하고 상호작용할 수 있게 해 줍니다.
명령줄 인터페이스로 실행
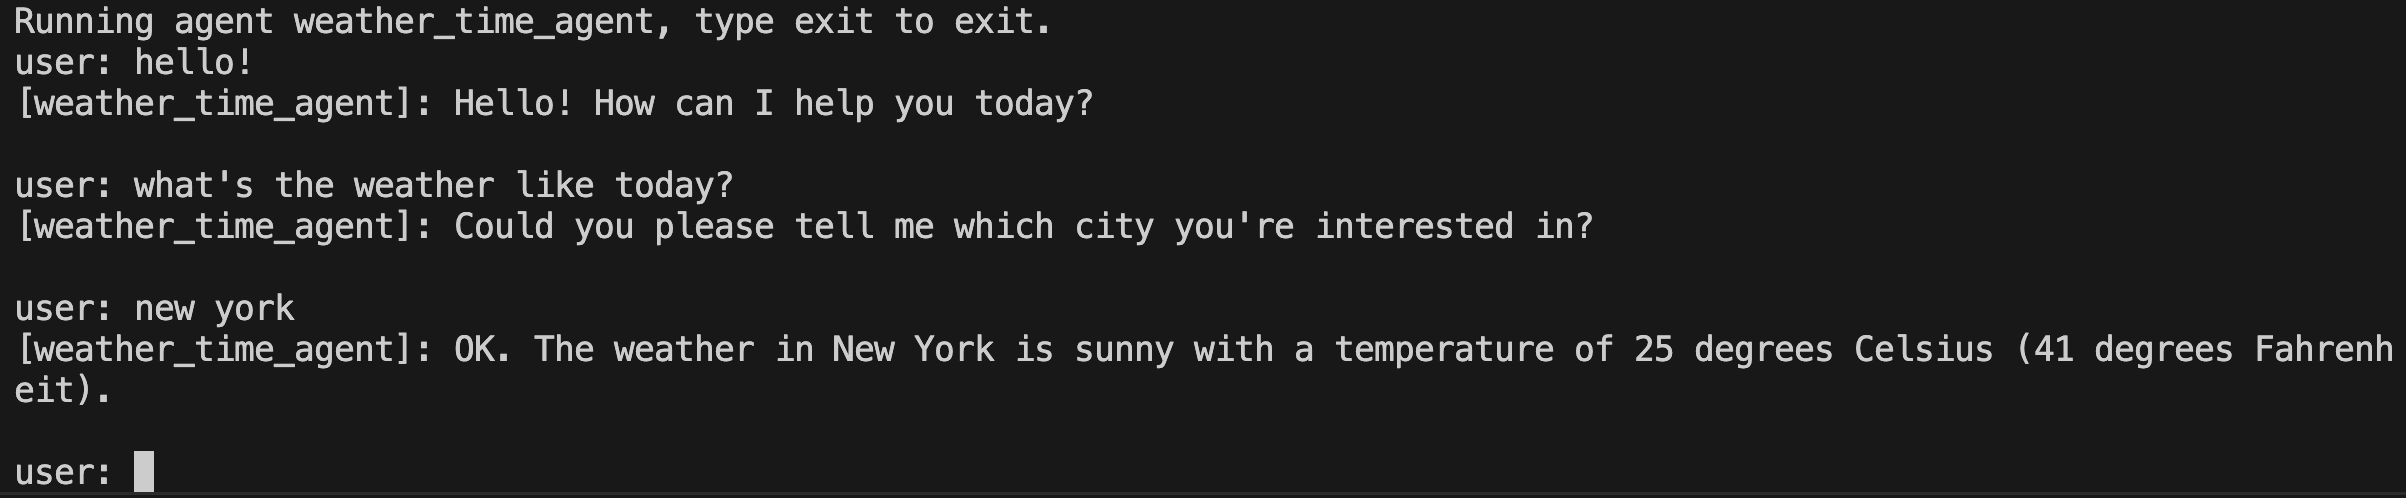
Gradle run 태스크를 사용해 명령줄 인터페이스로 에이전트를 실행합니다.
에이전트가 대화형 세션을 시작합니다. 메시지를 입력하고 Enter를 누릅니다.
Agent hello_time_agent is ready. Type 'exit' to quit.

You > What time is it in New York?

hello_time_agent > The current time in New York is 10:30am.

You > exit
Exiting agent.
웹 인터페이스로 실행
ADK 웹 인터페이스로 에이전트를 실행하려면 build.gradle.kts에 웹 서버
의존성을 추가합니다.
dependencies {
    implementation("com.google.adk:google-adk-kotlin-core:1.3.1")
    implementation("com.google.adk:google-adk-kotlin-webserver:1.3.1")
    ksp("com.google.adk:google-adk-kotlin-processor:1.3.1")
}
그런 다음 Main.kt 옆에 WebMain.kt 파일을 만듭니다.
package com.example.agent

import com.google.adk.kt.webserver.AdkServerConfig
import com.google.adk.kt.webserver.dev.AdkDevServer

fun main() {
    // inMemory()는 에이전트 로더와 세션 및 아티팩트 서비스를 제공하며,
    // 해당 상태를 프로세스 내에 유지합니다.
    val server = AdkDevServer(AdkServerConfig.inMemory(HelloTimeAgent.rootAgent))

    println("Starting ADK dev server on http://localhost:8080")
    server.start(wait = true)
}
-PmainClass 속성으로 웹 진입점을 선택해 웹 서버를 실행합니다.
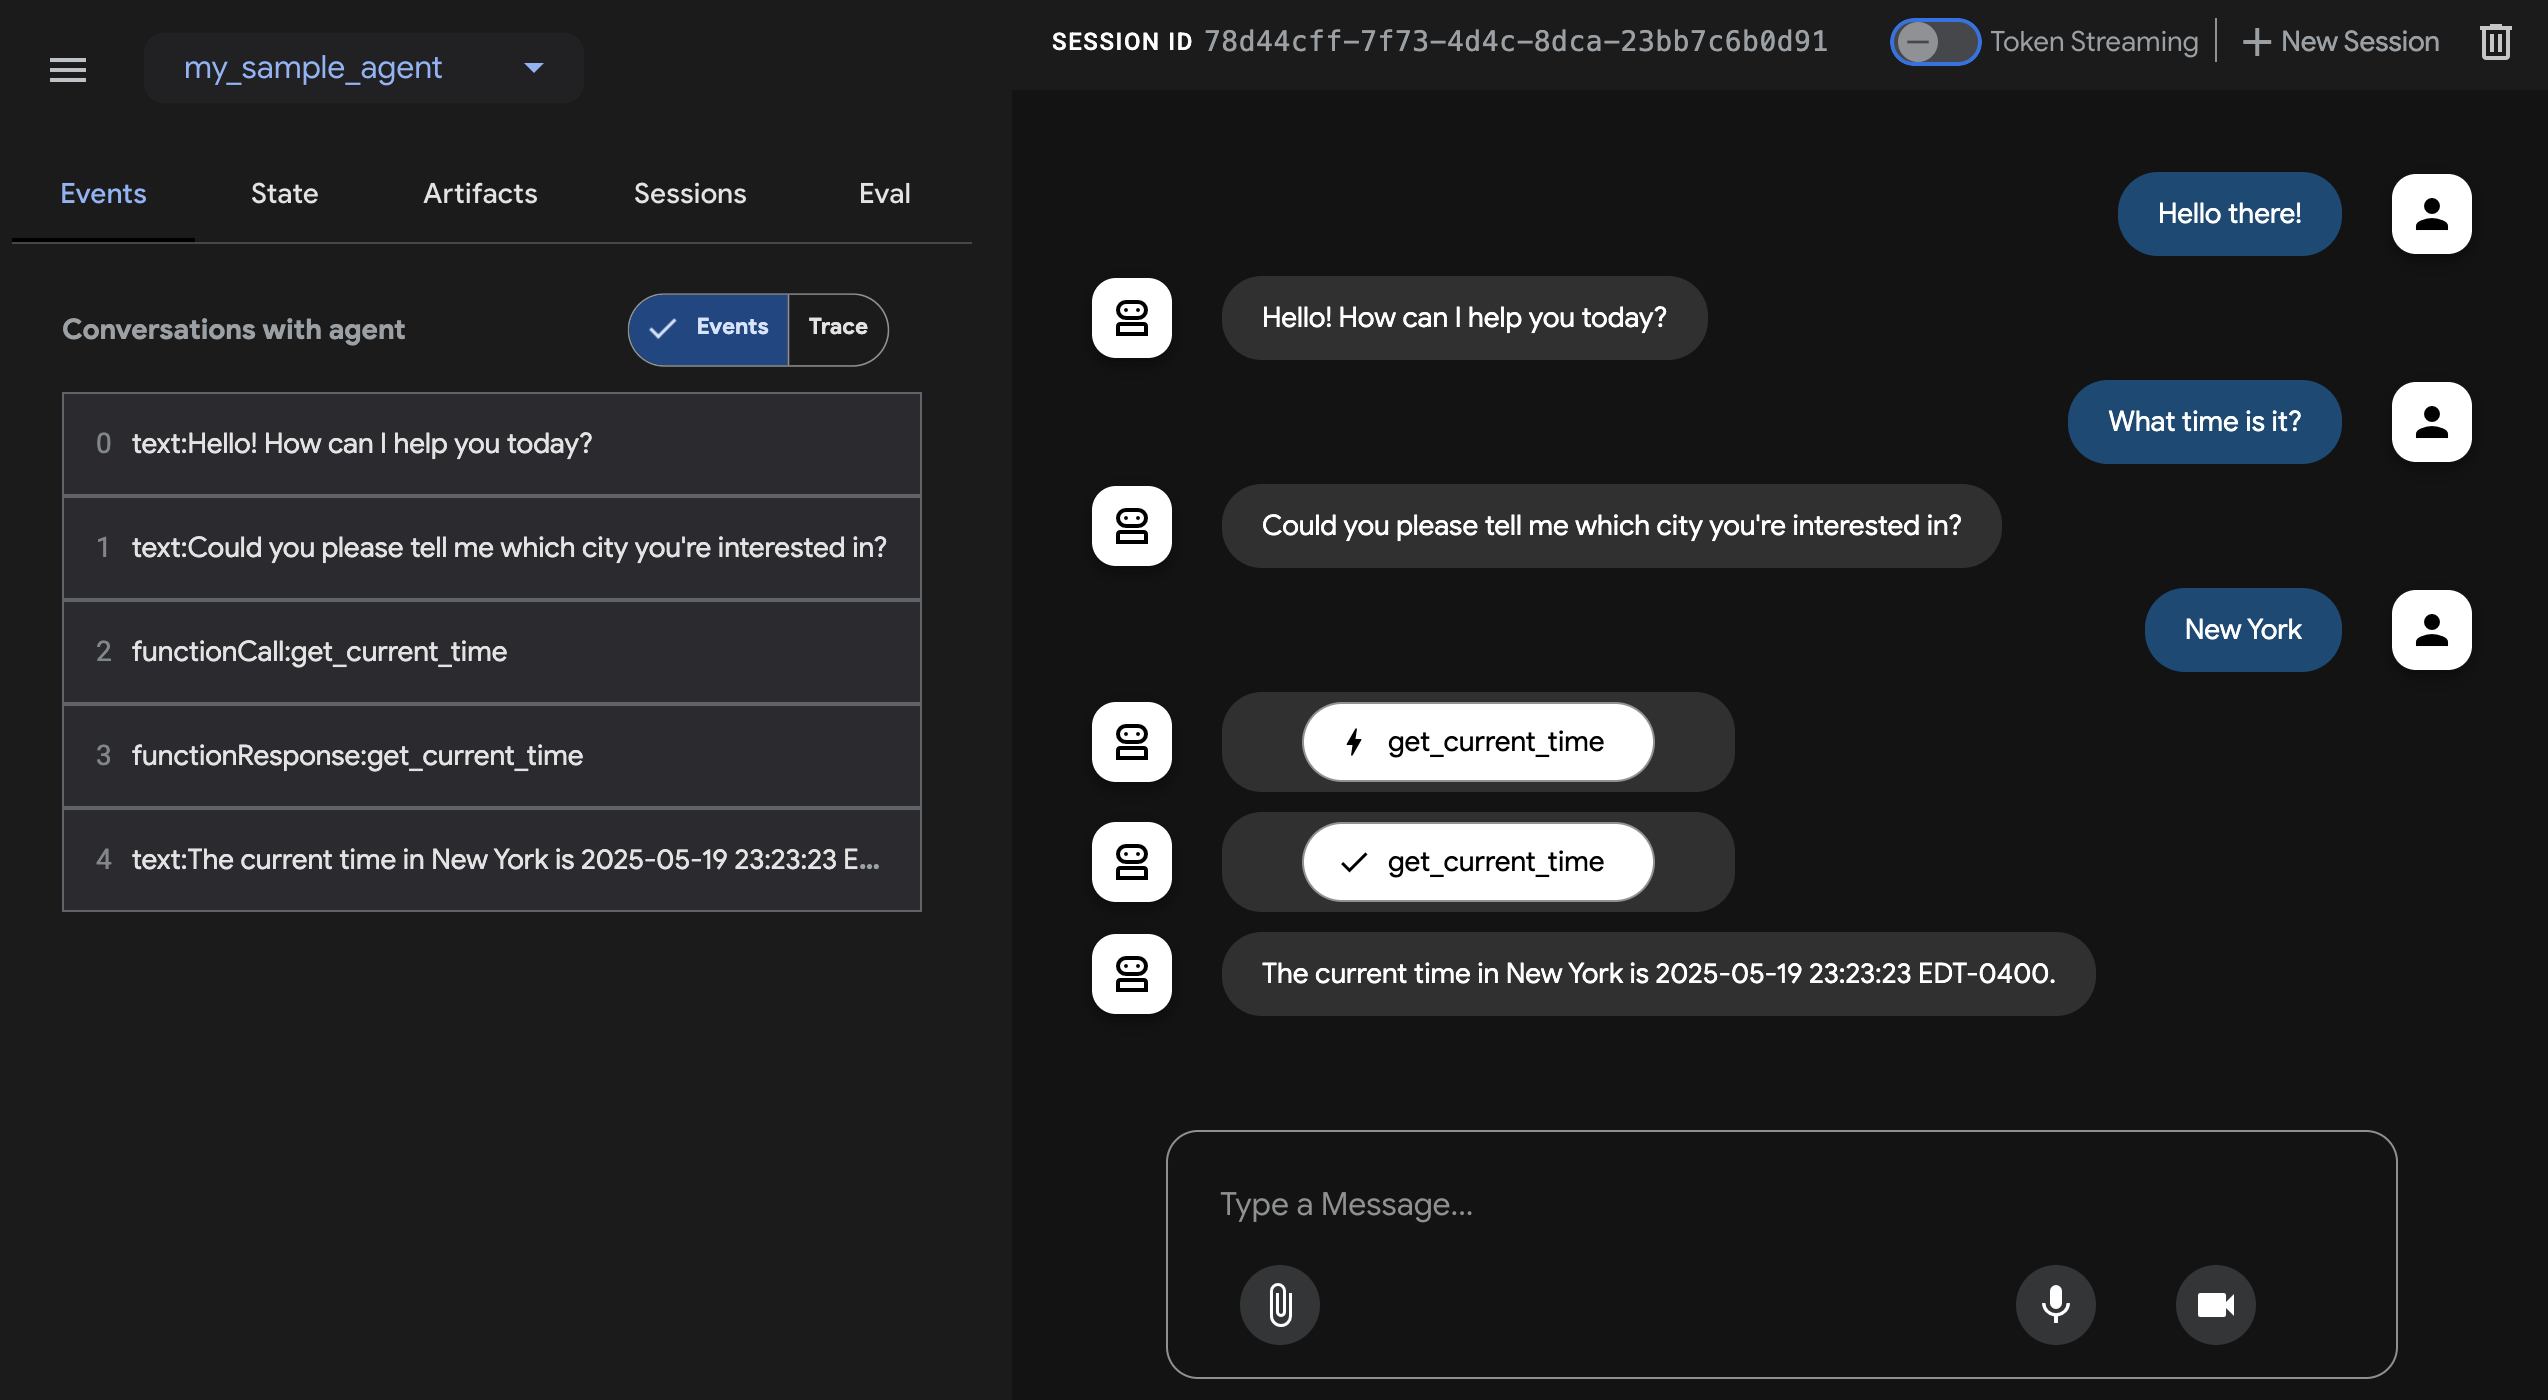
이 명령은 에이전트를 위한 채팅 인터페이스가 있는 웹 서버를 시작합니다.
웹 인터페이스는 http://localhost:8080에서 접근할 수 있습니다. 왼쪽
상단에서 에이전트를 선택하고 요청을 입력하세요.
주의: ADK Web은 개발 전용입니다
ADK Web은 프로덕션 배포용이 아닙니다. 개발과 디버깅 용도로만 ADK Web을 사용해야 합니다. 자세한 내용은 ADK 웹 인터페이스를 참고하세요.
다음 단계: 에이전트 빌드
ADK를 설치하고 첫 번째 에이전트를 실행했으므로, 이제 빌드 가이드를 따라 직접 에이전트를 만들어 보세요.